
The Horno
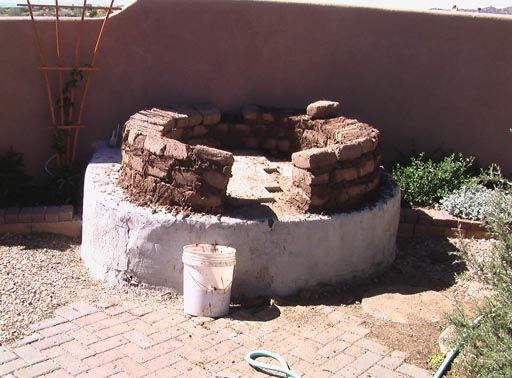
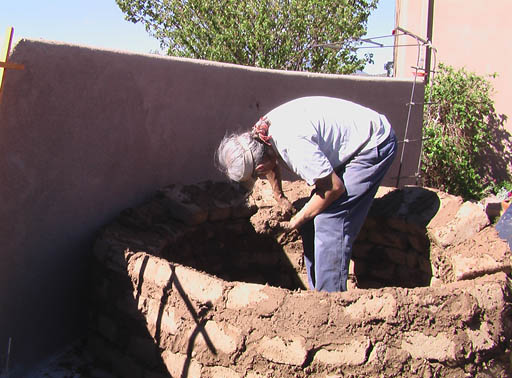
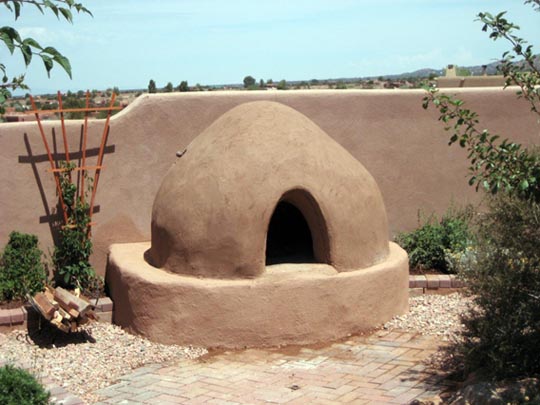
A horno is an outdoor oven made from adobe bricks built on a pedestal and covered with an adobe mixture of sand, clay and straw in the proportion of 2 X 1 X 1/2. The original design was brought to New Mexico by the Spanish settlers several hundred years ago and was quickly adopted by the pueblo Indians in the area. The original design probably came from northern Africa where it was adopted by the Spanish during their colonization by the Moors. Many kinds of hornos can be seen all over the state and especially on all of the different pueblos. They are mostly used to cook bread goods, chicos and to roast meat and various stews. It is their answer to a slow cooker.
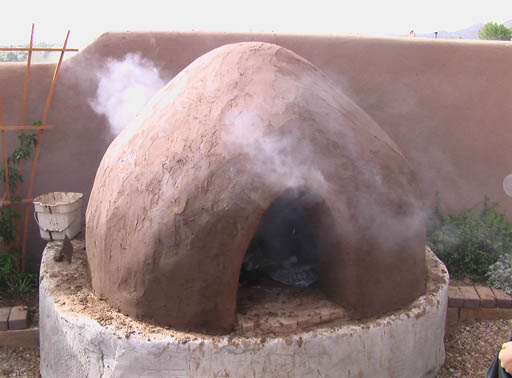
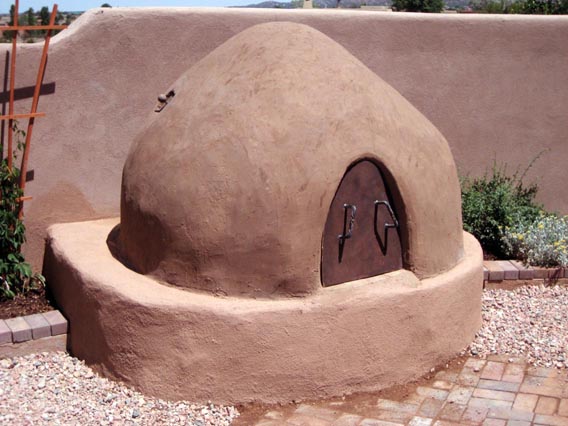
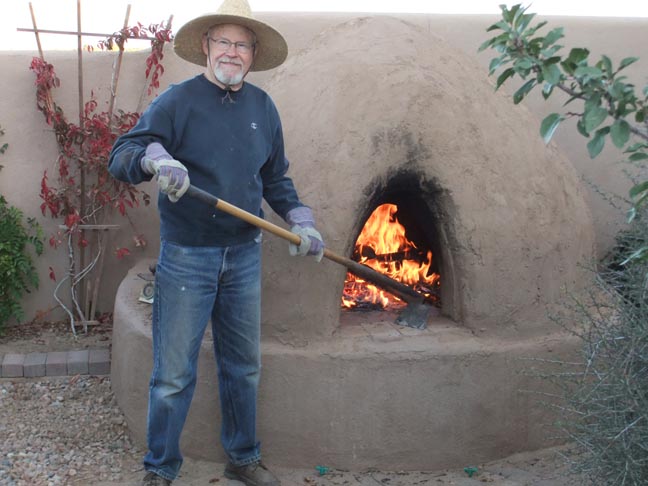
To use ours a wood fire must be made in it for about an hour and a half or until the interior temperature reaches about 550 degrees F. For cooking bread products the coals are removed before the products are introduced. For cooking meat and stews the coals are left in, but are smoothed out on the horno's floor (which was made with high heat fireplace tiles). Various cooking containers are then placed on the floor of the horno. When everything is put in the door on the horno and the smoke vent on the top are sealed and left for about four hours. After which time most of the dishes are cooked (except turkeys in which case I have to take it out, restart the fire and cook it for four more hours.)
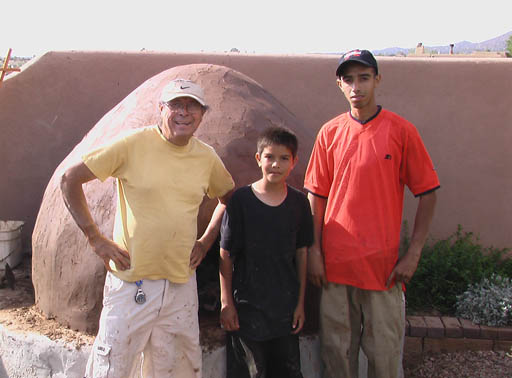
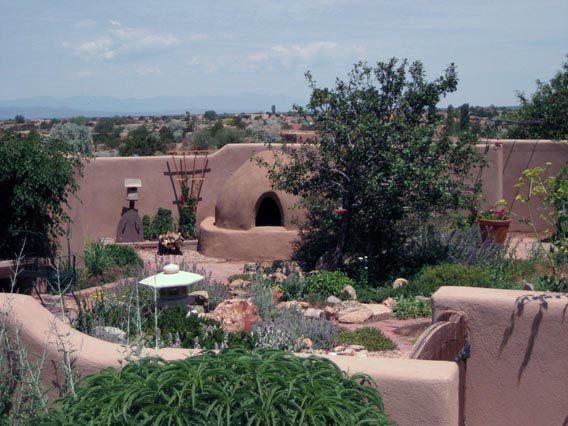
We were extremely fortunate that our horno was built by the famous micacous potter Felipe Ortega and his apprentices in our walled flower garden in 2008. Feipe lived in La Madera, NM which is a small town close to El Rito. He taught many people how to make micacous pottery at his house over the years. Sadly he passed away during the winter of 2018. He will be missed!
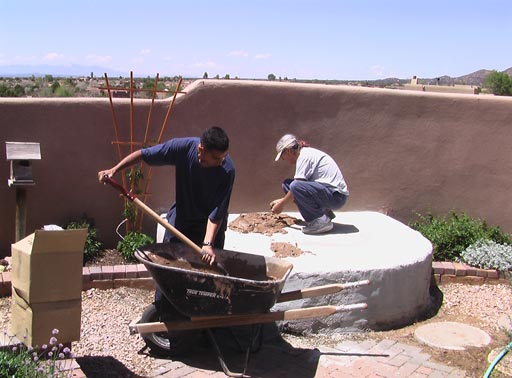
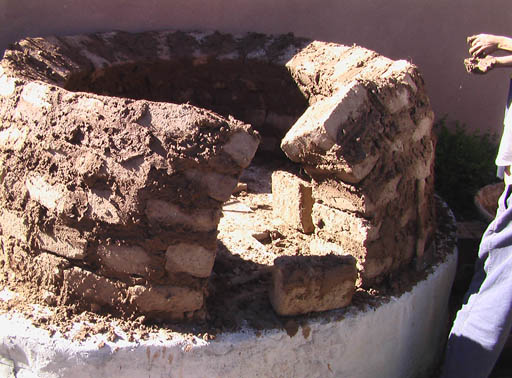
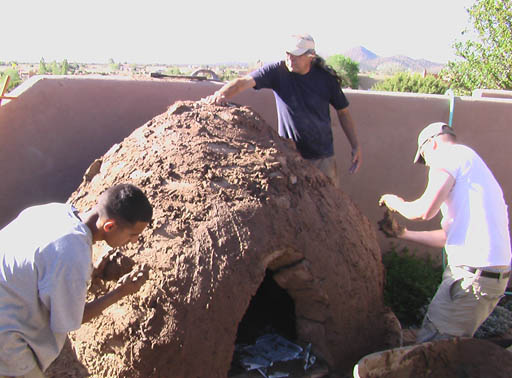
Constructing the Horno
 |
 |
 |
 |
 |
 |
 |
|
 |
 |
 |
 |
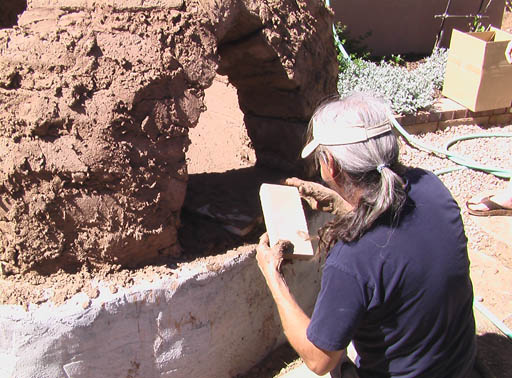
Re-mudding the Horno
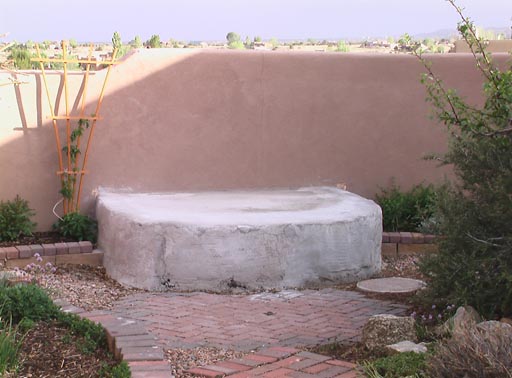
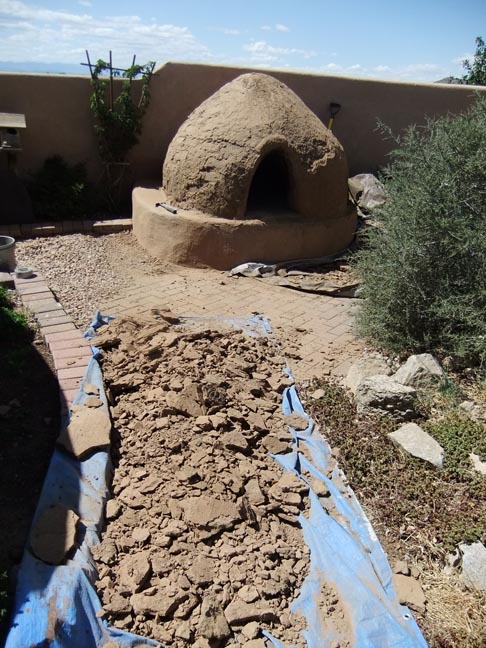
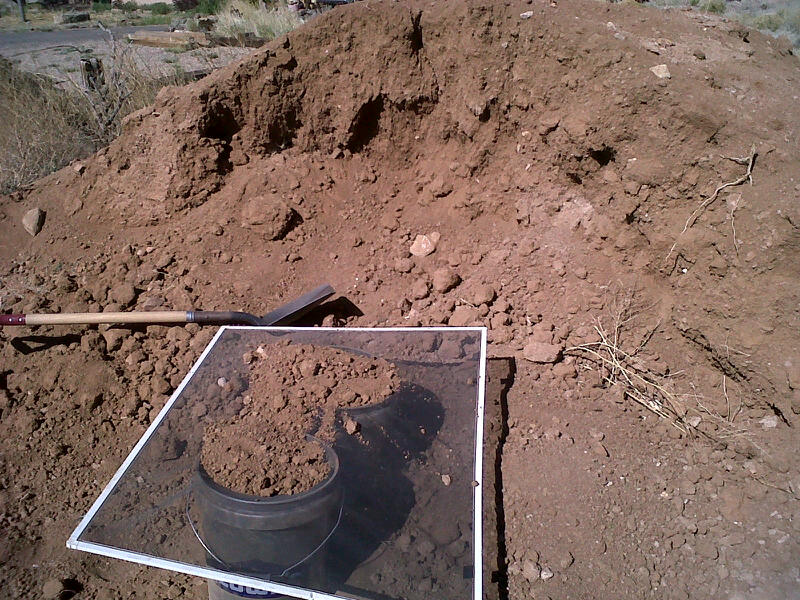
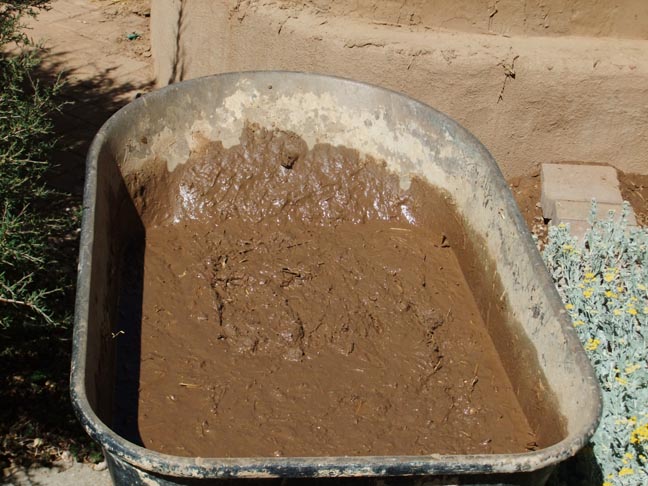
Each year the mud on the outside of the horno must be repaired. The exterior coat of mud, sand and straw must be mixed and applied. The first step is to scrape off all of the damaged adobe. I use a wheelbarrow to mix the materials with water then apply the slurry and smooth it with a brick layer's trowel. This all has to be done on a hot, dry day since it takes about a day and a half for it to completely dry.
In September, 2018 the outer coat of the horno that was flaking off was removed, put it into a wheelbarrow with added water. After it was made into mud again to the consistency of peanut butter it was troweled back onto the outside and allowed to dry for a couple of days. Then a new coat of mud was troweled onto the outside to which was added (in 2018) 1qt. of ParexUSA Adacryl Admix & Bonding Agent or (in 2019, 2020 & 2021) DAP Concrete Bonding adhesive, per one wheelbarrow of mud mixture (sand, adobe soil & straw). This should protect it from the water damage that usually occurs during the year. On July 1, 2020 I re-mudded the horno. This time using 2qts of DAP Bonding agent instead of one. On June 12, 2021 the same process was used.
 |
 |
 |
 |
 |
 |
 |
 |
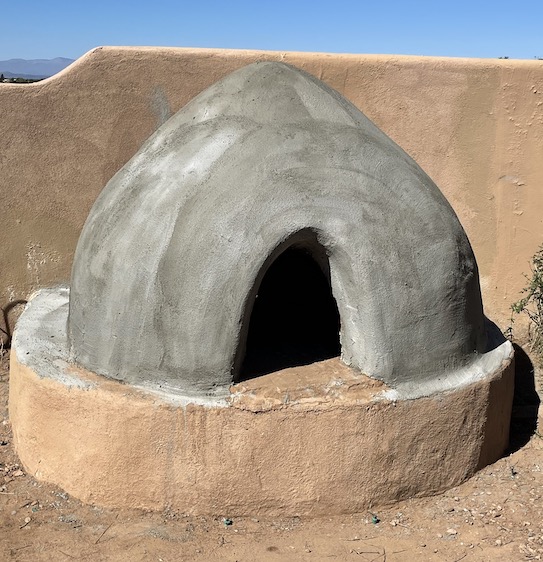
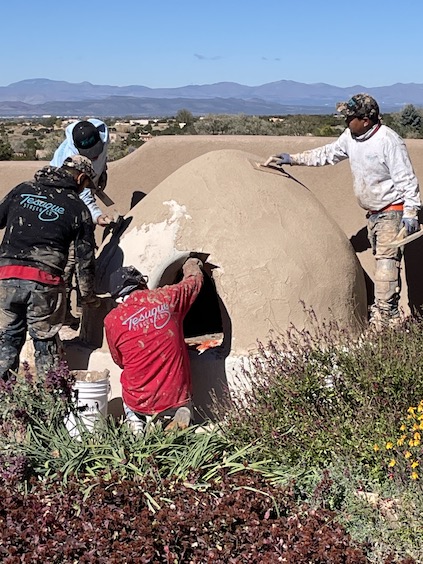
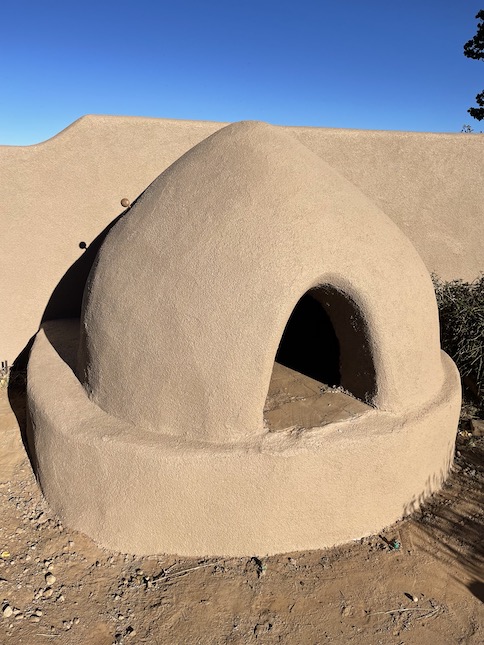
Stucco on the Horno
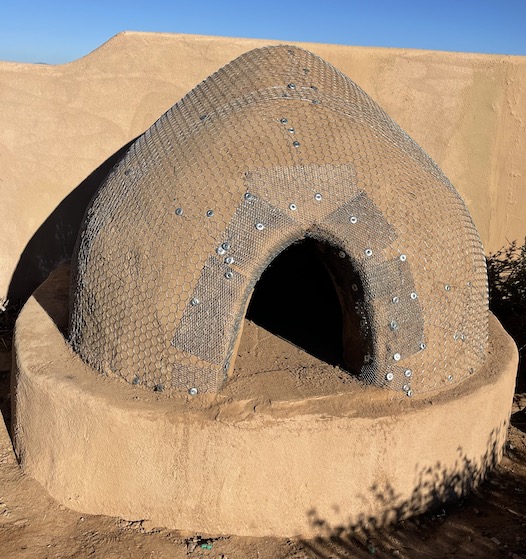
After having to re-mud the horno each year I decided to have it covered with synthetic stucco in 2022 when we had our house and wall re-stuccoed by the Tesuque Stucco Company. After first removing all of the excess mud layers that I had placed on the horno in the last few years I added one coat of reconstitued mud that had been removed to make the surface smooth. The stucco workmen then covered the horno with chicken wire held in place with concrete nails. The outside was then covered in grey base coat then the final stucco coat was applied.
 |
 |
 |
 |
 |
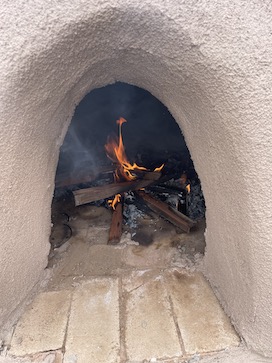 |
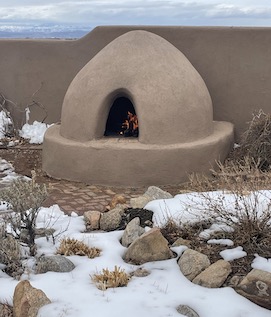
First fire in the newly stuccoed horno
Pictures of Other Hornos
Internet Horno Recipes
Any of these recipes will work in an horno. All you need are fire resistant pots and pans with good lids. Bon appetit!